It seems I start every post by apologising for not posting more often, which is a bit daft really. But now I have a couple of weeks off for Easter so I can catch up with
all some of the things I haven't had time to do lately.
So I thought you might like to see some pictures of what I've been working on at uni lately. Our last module required us to produce a 'marketable product' within a certain price bracket and to research selling venues and produce marketing material and so on. I rather enjoyed this module, I got to do some maths as well as some making.
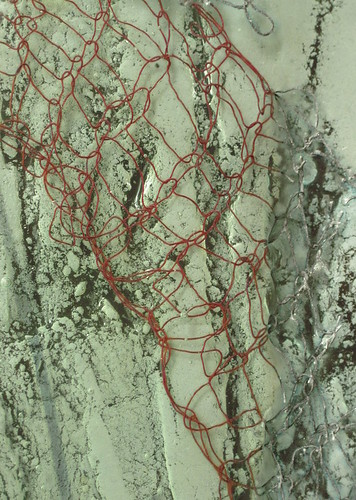
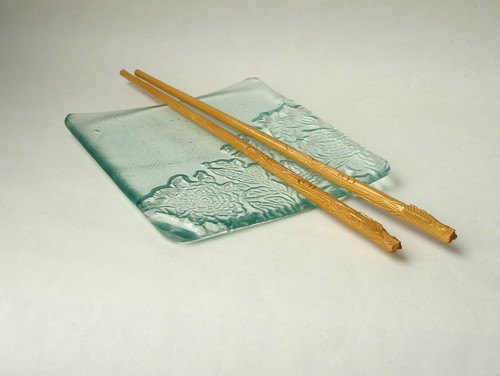
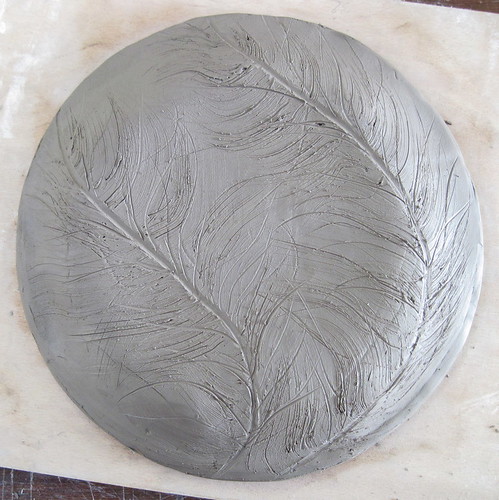
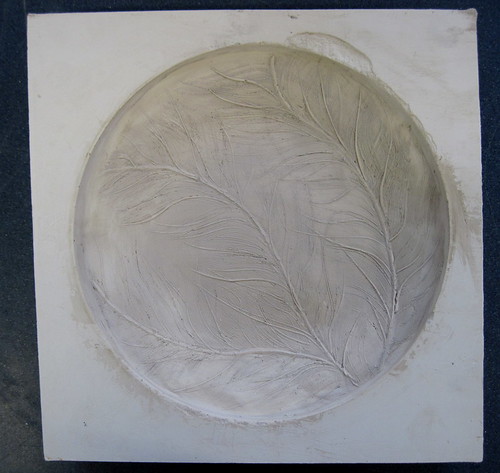
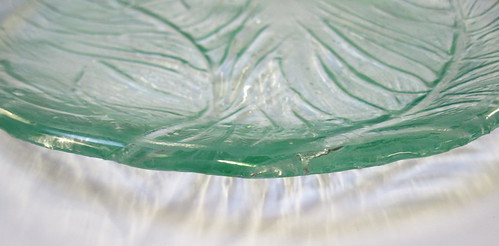
My design idea was to produce a range of textured dishes on a textile related theme. Opting to work with texture rather than colour was quite challenging as I had to hand make moulds for each of my designs but I really wanted to see whether I could do it quickly enough to produce something affordable.
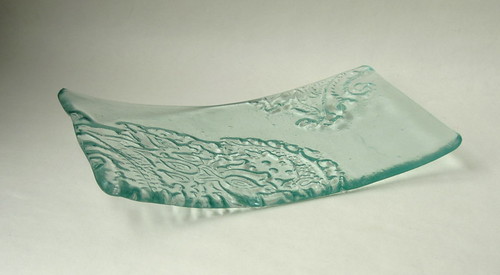
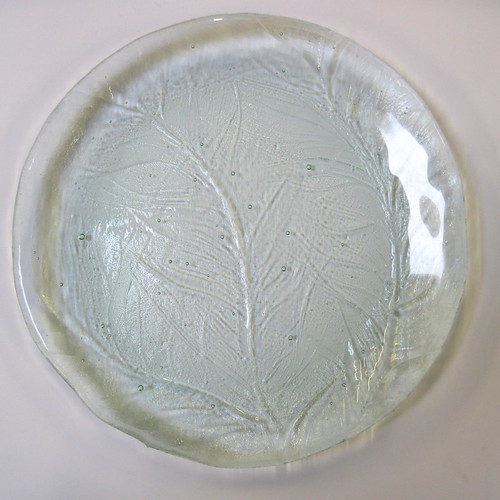
The textures are from some beautiful vintage Indian printing blocks I have. Once I had made the moulds I started off working with float/window glass. I like the way the green tint of the glass works with the texture, and it has the advantage of not being so horribly expensive that mistakes are a disaster.
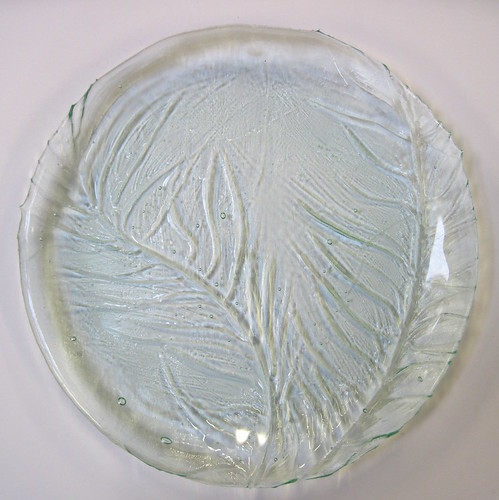
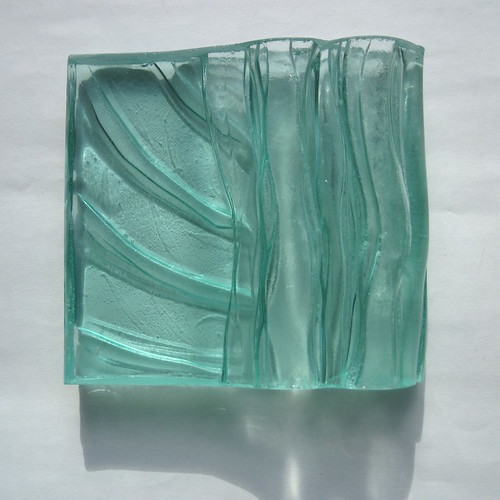
This one was supposed to be the same rectangular shape as the other but due to a rather messy leak the plaster mould was too thin and snapped in half. So I went ahead and used the broken half a mould and I think it works rather nicely as a square - this one was a happy accident!
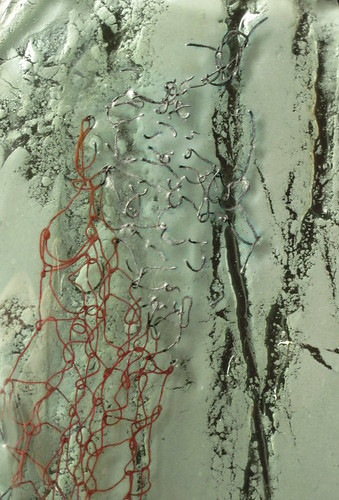
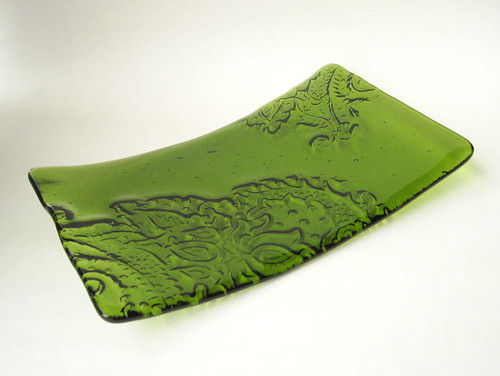
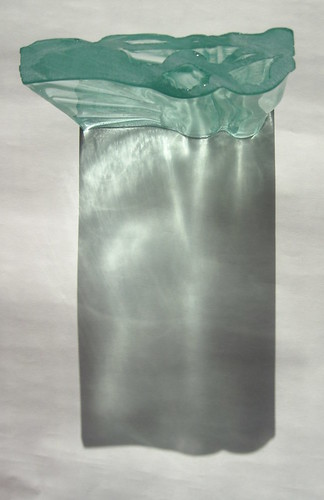
Having proved that the moulds worked fine with float glass, I really really wanted to use coloured glass. We're getting more expensive now! Unfortunately the glass behaves quite differently from float glass and needs a completely different firing programme and although everyone had an idea, nobody really knew what programme I should be using.
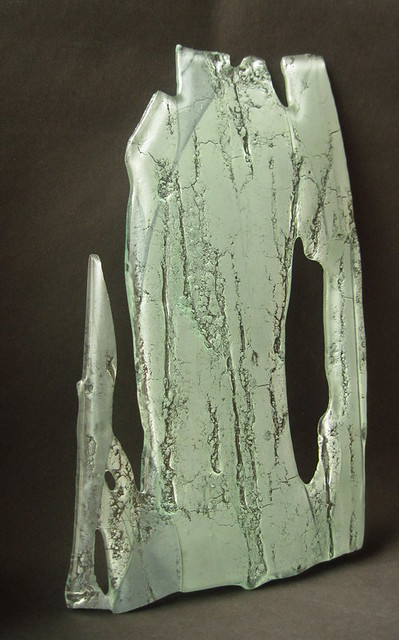
Cue quite a few disasters (and remember we're using the expensive stuff...). First we went too hot and ended up with sharp points on the edges, and pulled edges, and a hole where the glass had bubbled and burst. Unfortunately there were 3 of these :(
Although, some parts are really lovely so I am hoping to be able to cut away the dodgy bits and do something with the remainder.
Then we went too cold and had to try again... and when we did it was too hot again!
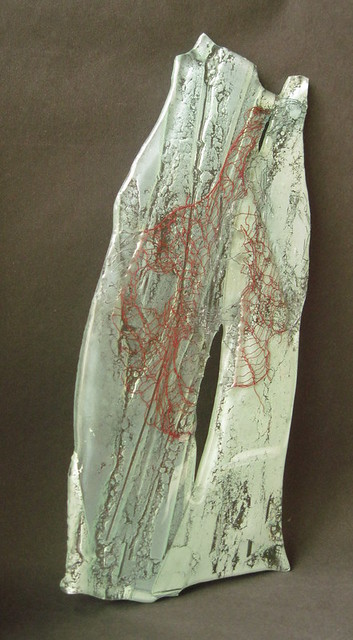
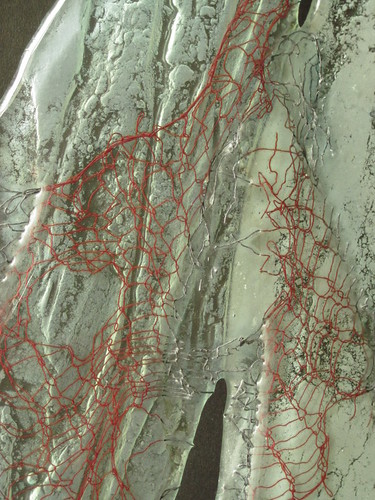
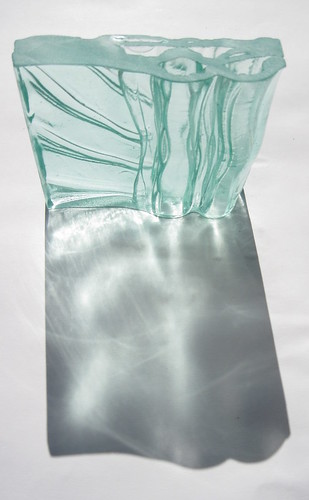
Finally, more by luck than judgement, we got it right...
So now I know the firing programme to use for this particular glass provided I fire it at the right hand end of that particular kiln... don't ever let anyone tell you glass is an easy medium to work with!
But I am so pleased with the result it was definitely worth the ups and downs. And more importantly, I developed an efficient and cost-effective method of making the moulds I need.
So, finally the acid test, I'll be listing some of the dishes in
my etsy shop next week and I'll find out whether I really did come up with a marketable design!