Yes, I know, I haven't even managed a once-a-week post since term started, let alone once-or-twice... I was hit by an unexpected bout of exhaustion last week, I don't think it had anything to do with the start of term, more likely I was fighting off a bug of some sort. But the timing could have been better!
I am getting back into the swing of things now, and my timetable is a little easier/more flexible this year too. Although of course the one evening when I am likely to be home late is the one evening when the boys have to eat early - but it's good for them to have to fend for themselves sometimes!
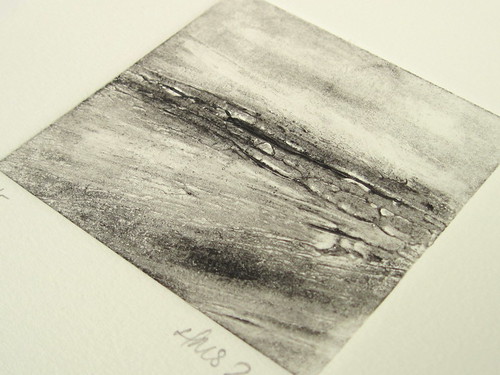
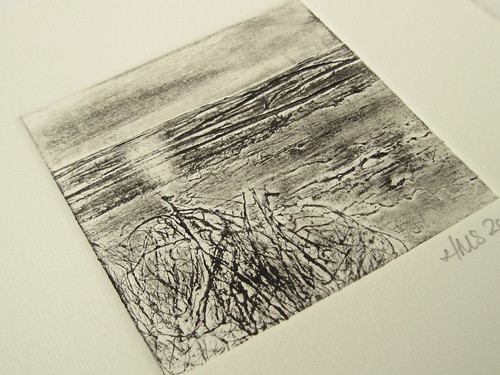
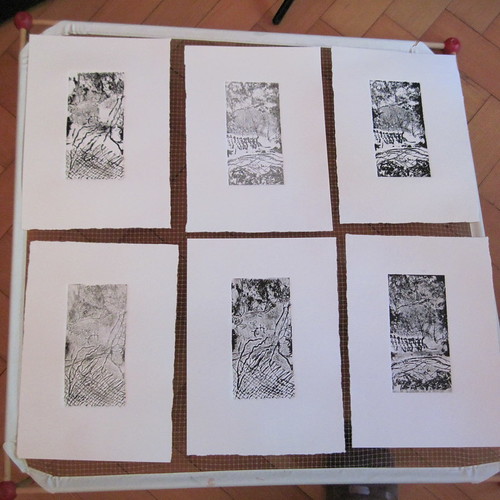
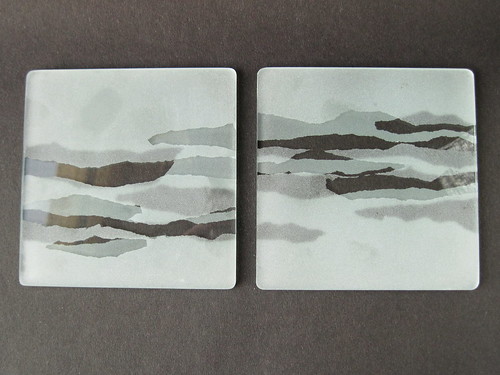
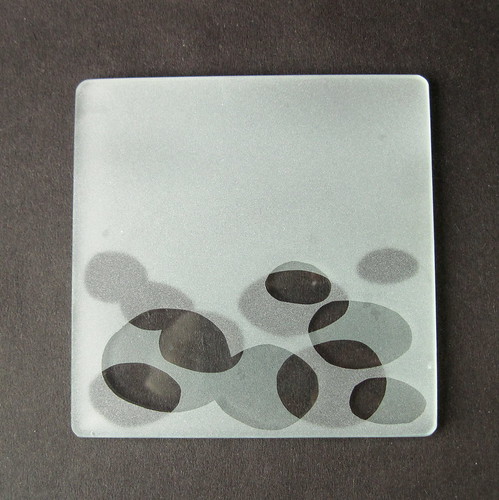
I don't have much to show you yet, have made some plaster moulds but they're not all that exciting! I've been catching up on various jobs at home today including photographing some bits for listing in my hypsela shop. There are a couple more of my collagraph prints
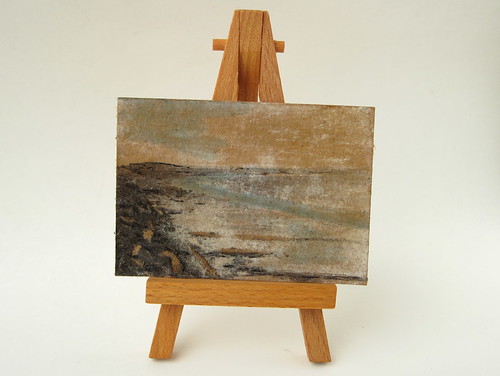
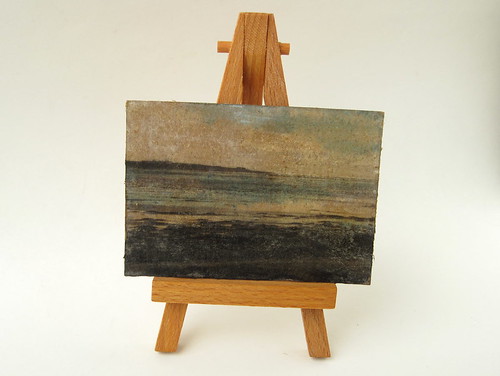
and something new, a couple of ACEOs. I was aiming for an 'ancient seaside postcard' look...
They were a development from the design work I did for the collagraph prints - I liked the technique and thought I would experiment further with it. Although I do love the ACEOs, I think they might work better a bit bigger. Maybe some 'actual' postcard size ones, or greetings cards?
Showing posts with label art. Show all posts
Showing posts with label art. Show all posts
Wednesday, 12 October 2011
Monday, 8 August 2011
Prep Work
I think I've mentioned before (once of twice!) that my prints are going into an exhibition this week. A nice feature of this exhibition is that the exhibitors put out their sketchbooks for the visitors to look through.
Now since a lot of my prep work for the prints have been test prints I haven't been working in a book - can't put a book through the press! So I have been collecting together all the bits I have done, the transferred photographs I started with, the charcoal drawings I did, the test prints from the plates that worked and the ones that didn't really, and of course the plates themselves.
And I've bound them together into a book.
Well I haven't actually included all of the test prints because there were so many of them... but a representative selection!
I toyed with the idea of adding a little colour here - decided against it. Although it's something I will probably come back to in the future.
This print was one where I applied the ink with a roller rather than rubbing it on. It's really surprising how different a print can look just by changing the way the ink is applied. In the end I didn't use the roller for any of my final prints, it didn't seem to suit the soft landscape look I was after.
And I also mounted (most of) the printing plates and included those too. Hopefully they won't make peoples fingers all inky - I have cleaned them, but still...
Hanging tomorrow... the exhibition details are here, do pop along if you can!
Saturday, 6 August 2011
Packaging the Prints
I've spent what seems like a ridiculously long time this afternoon packaging up my prints ready for the exhibition (see my Events page for details) - framing some and packing the others in bags, labelling them all, and so on. I had no idea it would take so long!
I just hope I manage to sell one or two after all this! Although I do have a plan for those that don't sell... and I would be quite happy to keep these two...
I'm relieved to have got them all done - now I'm looking forward to a quiet evening finishing off my first ever hand-knitted sock.
Thursday, 7 July 2011
A day out
Life has quietened down a bit now. Just as well as I have a little bit of a cold (courtesy of youngest son I think - very generous of him!)
Yesterday I took my eldest out on an art 'field trip'; we went over to the Yorkshire Sculpture Park for the day. The traffic wasn't too bad (of course going round Manchester could have been better) and considering the forecast we were so lucky with the weather - son remarked that he had never been there before when the weather was just right - in the past it has either been too hot to move or grey and a bit chilly.
We didn't time the trip quite right as the Longside Gallery and the smaller galleries were closed between exhibitions (we had originally wanted to go last week when they were still open but just couldn't fit it in). But the main exhibition by Spanish sculptor Jaume Plensa was what we wanted to see and it certainly didn't disappoint! I have a few photographs of the outside pieces which are imposing enough but my absolute favourite were the Alabaster Heads displayed in eerie darkness in the Underground Gallery - you will have to go and see those yourselves. I thoroughly recommend a visit if you can make it!
You can get an idea of the size of this by the fact that that is ny 6'3" son standing inside...
We were so lucky with the weather - the sunshine threw beautiful shadows. It did rain, but only while we were inside eating lunch!
The writing covering these figures spelled out composer's names. We spent a while seeing how many we recognised...
Again I loved the shadows thrown by these pieces, and the way the lettering flowed out onto the slab to support the figure.
There is a Jaume Plensa head at Sutton Manor near St Helens, towering over the M62 - we often drive past it on the way to Ikea (and other places, but mainly Ikea!). The trees grow around it in such a way that you only catch glimpses of it (especially if you are driving) and for a while I thought I was imagining it because nobody else seemed to have noticed it. But it is definitely there - I think our next 'field trip' will be to go and see it up close.
Yesterday I took my eldest out on an art 'field trip'; we went over to the Yorkshire Sculpture Park for the day. The traffic wasn't too bad (of course going round Manchester could have been better) and considering the forecast we were so lucky with the weather - son remarked that he had never been there before when the weather was just right - in the past it has either been too hot to move or grey and a bit chilly.
We didn't time the trip quite right as the Longside Gallery and the smaller galleries were closed between exhibitions (we had originally wanted to go last week when they were still open but just couldn't fit it in). But the main exhibition by Spanish sculptor Jaume Plensa was what we wanted to see and it certainly didn't disappoint! I have a few photographs of the outside pieces which are imposing enough but my absolute favourite were the Alabaster Heads displayed in eerie darkness in the Underground Gallery - you will have to go and see those yourselves. I thoroughly recommend a visit if you can make it!
You can get an idea of the size of this by the fact that that is ny 6'3" son standing inside...
We were so lucky with the weather - the sunshine threw beautiful shadows. It did rain, but only while we were inside eating lunch!
Again I loved the shadows thrown by these pieces, and the way the lettering flowed out onto the slab to support the figure.
There is a Jaume Plensa head at Sutton Manor near St Helens, towering over the M62 - we often drive past it on the way to Ikea (and other places, but mainly Ikea!). The trees grow around it in such a way that you only catch glimpses of it (especially if you are driving) and for a while I thought I was imagining it because nobody else seemed to have noticed it. But it is definitely there - I think our next 'field trip' will be to go and see it up close.
Tuesday, 14 June 2011
Test prints
Rest assured I am working on the second part of the textured paper tutorial - just need to organise a couple more photos...
In the meantime I will leave you with some images of collagraph test prints I made the other day... I made a series of little ACEO sized experimental prints.
These are prints of a dried up weed from one of my garden tubs - quite pleased with these - I might do another with a more interesting background. I have plenty of weeds!
These are a piece of birch bark I picked up on a walk the other day.
This one is scraps of lace and fabric - not so sure about it, but the black bit really looks like some weird sea creature, so that might be useful at some point.
And this one is one of the printing plates I cut up the other day - I think it looks better now! I wasn't sure when I printed it but now I've come back to it I do like it. I need to try it on some proper paper next.
That's all my printing... now I'd better go and sort those photos for the rest of the tutorial!
Saturday, 11 June 2011
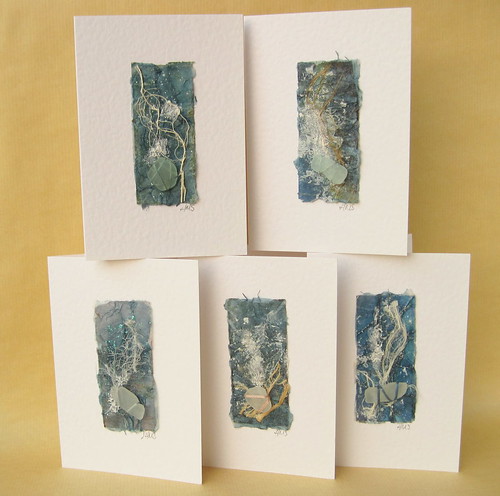
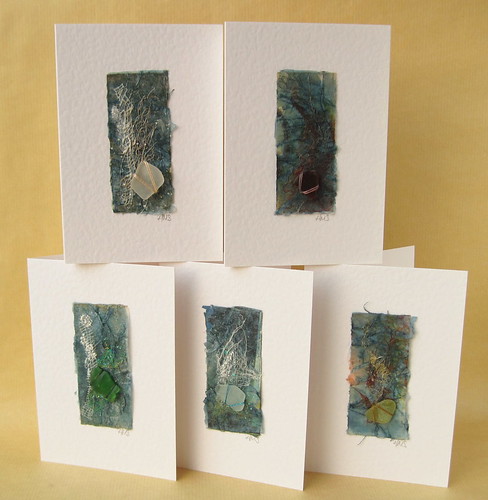
New Seashore Cards
I've finished this batch of cards and am slowly listing them in my hypsela shop on Etsy. It's been quite a while since I made any of these - there is always a dilemma when you make something that proves popular, you can begin to feel a bit stale making the same/similar things over and over. But I have enjoyed doing these and I think it shows - they have more life in them than the last batch I made (some time ago). Perhaps I shall think about doing just a few ACEOs as well...
Tuesday, 31 May 2011
Printing
I have been a bad blogger, I know. But, lectures have finished, I've had my assessment, and term ends this week so I have no more excuses!
I have been a little distracted by this...
... my very own printing press!
Today I tried it out for the first time with a couple of collagraph plates I made a while ago. Here is the very first print made on my very own printing press...
... and a few more... just test pieces, I'm not using my expensive paper yet!
I do think I need a bigger and better drying rack though. This one is a bit limited in size, it is meant for sweaters and for some reason it only has 3 legs now. But it will have to do for the time being.
So for the next few days I shall mainly be making printing plates!
Tuesday, 22 February 2011
Experiments with Basket Weaving
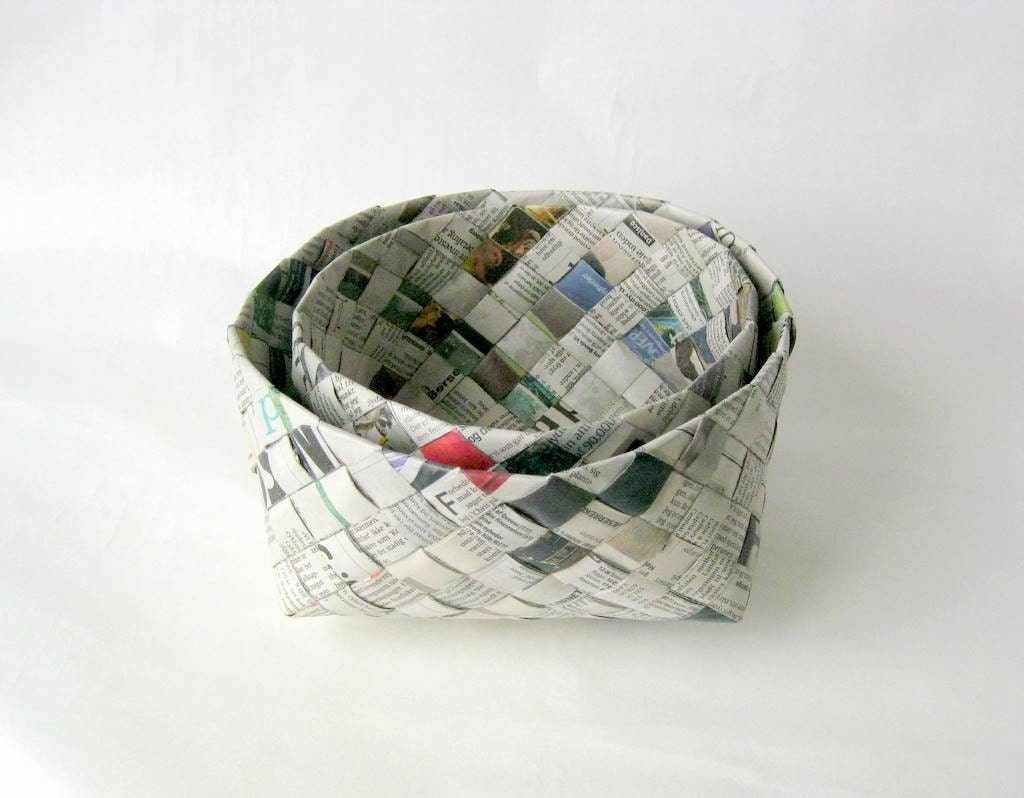
I belong to a lovely textile art group - we meet once a month and have workshops from visiting tutors and try out all sorts of different techniques. At the last session we looked at different traditional basket making techniques. We were shown how to make simple woven baskets from paper - I had a go at home with strips cut from a paper carrier bag. It was a bit fiddly but I was chuffed when I finally got them to hold together!
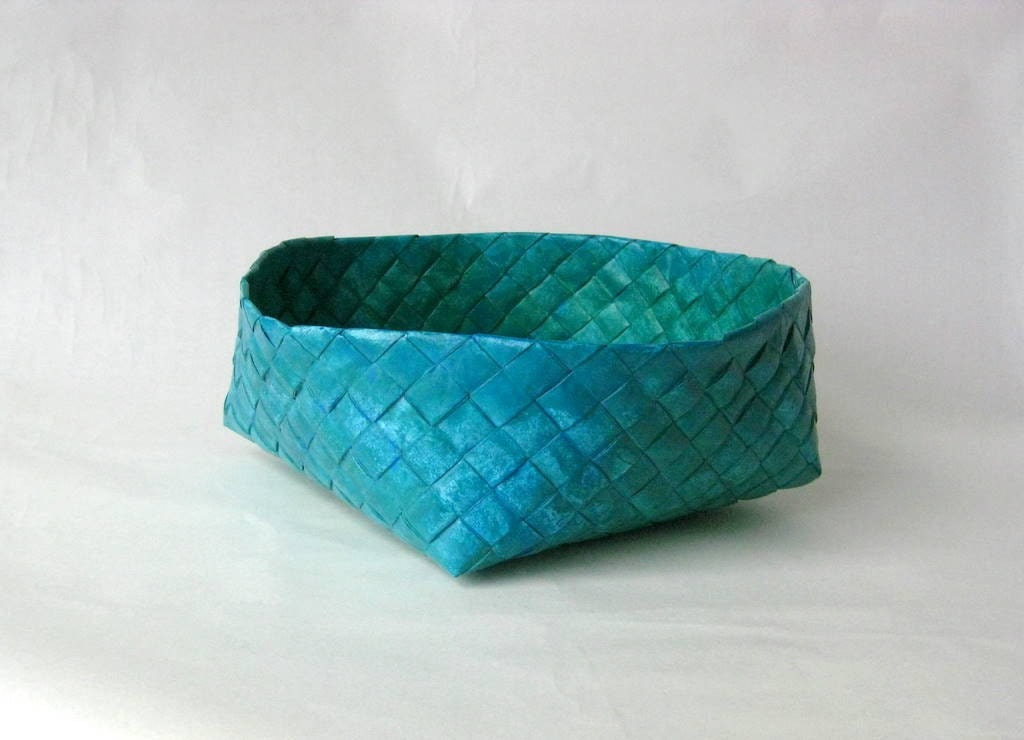
I have long admired the little baskets made by SewDanish on Etsy - I am even more in awe now I know how fiddly they are - hers are so much neater than mine! I think I need more practise. A lot more practise.
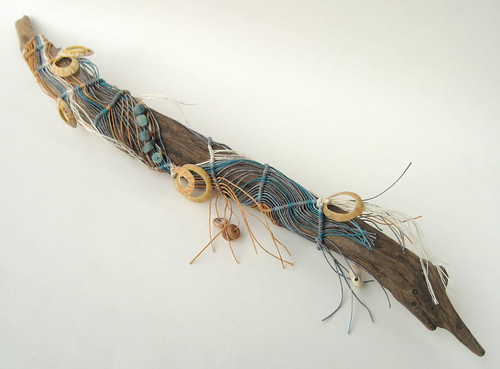
During the session on Saturday I worked on using a traditional knotting technique - not to make a basket, but to cover a rather nice piece of driftwood I had in my bag. And of course I had to add a few of my favourite shells... I really enjoyed this, it was a very calming process and I'm pleased with the result. Makes a nice sound when you shake it too!
The coloured thread is all waxed linen thread. It is a bit strange and sticky to work with but makes really satisfying knots, and I love the subdued colours. There is a bit of a problem with this stuff though; it is apparently made in Northern Ireland - it says 'Crawfords Belfast' as clear as anything on the label - and yet it seems you can only buy it in the US. It's not cheap and by the time you've added on shipping, VAT and the good old Royal Mail handling fee it's going to be exorbitant. So if anyone knows where you can get it this side of the pond do please please let me know.
I have long admired the little baskets made by SewDanish on Etsy - I am even more in awe now I know how fiddly they are - hers are so much neater than mine! I think I need more practise. A lot more practise.
 |
| Basket by SewDanish |
 |
| Basket by SewDanish |
During the session on Saturday I worked on using a traditional knotting technique - not to make a basket, but to cover a rather nice piece of driftwood I had in my bag. And of course I had to add a few of my favourite shells... I really enjoyed this, it was a very calming process and I'm pleased with the result. Makes a nice sound when you shake it too!
The coloured thread is all waxed linen thread. It is a bit strange and sticky to work with but makes really satisfying knots, and I love the subdued colours. There is a bit of a problem with this stuff though; it is apparently made in Northern Ireland - it says 'Crawfords Belfast' as clear as anything on the label - and yet it seems you can only buy it in the US. It's not cheap and by the time you've added on shipping, VAT and the good old Royal Mail handling fee it's going to be exorbitant. So if anyone knows where you can get it this side of the pond do please please let me know.
Monday, 21 February 2011
Jewellery - Metalwork
The last stop on our trip round the departments was the Jewellery-Metalwork department. Our brief for these 2 weeks was to create a ring. I had great fun here - I had really been looking forward to having the chance to mix some of my favourite textiley fibres with some metal - and ended up making several ring-like things!
First off I loosely needlefelted some bits of fluff together - a mixture of wool and silk and linen fibres - and textured a little piece of copper to sit on top of them. Now obviously I couldn't do any soldering with this little lot around without them going up in flames so I made the ring separately and then riveted the fluff and metal onto it. A bit fiddly, to say the least!
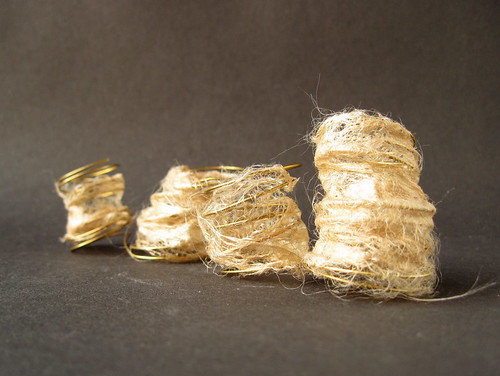
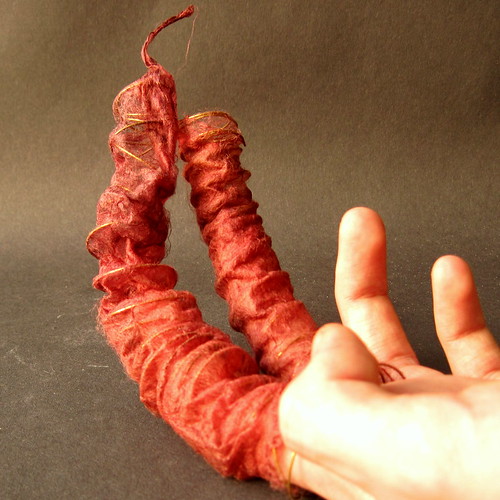
Having made these 'proper' rings I went on to have fun experimenting with my favourite combination of silk paper and wire. I already use these materials to create the hearts I sell in my hypsela handmade shop but I had never managed to form the silk paper over a 3D wire structure without just getting into a sticky mess. I twisted some wire into loose spirals to fit over my fingers and got out the silk paper... well the first couple of goes were my usual sticky mess, but evetually I discovered if I laid the silk fibres in the same direction as the wire it worked! (well, sometimes...)
I know, a pretty strange sort of ring but a great discovery for me! And lastly, another weird and wacky ring-thing made using the same technique... There's no stopping me now!
First off I loosely needlefelted some bits of fluff together - a mixture of wool and silk and linen fibres - and textured a little piece of copper to sit on top of them. Now obviously I couldn't do any soldering with this little lot around without them going up in flames so I made the ring separately and then riveted the fluff and metal onto it. A bit fiddly, to say the least!
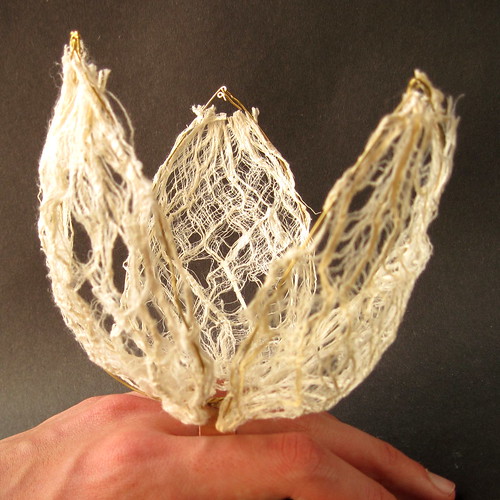
Next I got out one of my very favourite fibres. This is beaten kozo fibre, I think it is from the bark of the mulberry tree, and it has been prepared for papermaking. It comes as funny little sticks but if you soak them you can gently tease them out into the most amazing lacy structures, which are quite stiff once they dry. It can be a bit hit-and-miss if you want a particular size and shape, you never really know what you're going to get, but it's always beautiful. I threaded my kozo pieces onto wire which had been soldered onto a ring to create this lovely pod shape. This is definitely my favourite!
I do need to find a neater way to finish the wires together at the top though - again, soldering is out - maybe I just need to practice my wire-wrapping!
I know, a pretty strange sort of ring but a great discovery for me! And lastly, another weird and wacky ring-thing made using the same technique... There's no stopping me now!
Friday, 21 January 2011
Warm Glass
I know I have absolutely failed in my aim to keep people up to date with what I am doing at Uni via this blog - I am sorry! My only excuse is that I have been madly busy... of course... what did I expect?
Anyway, today I have finally managed to take the all important photographs of what I've been up to so I can bring you up to date.
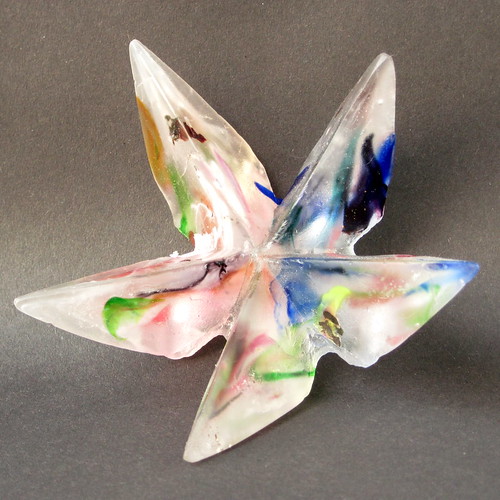
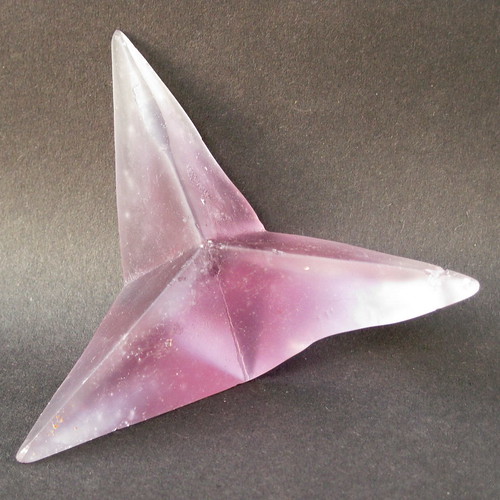
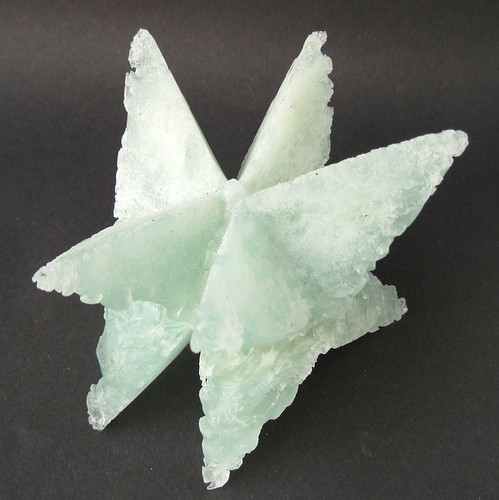
We have been divided into groups and each group has spent 2 weeks in each of the 3 departments; glass, ceramics and jewellery/metalwork. My first 2 weeks were spent in the glass department. We mainly looked at casting glass and the various ways of making moulds for this - it's a pretty slow process! Here are my cast pieces... they are still a bit rough around the edges and need a bit more smoothing and polishing up. They don't have the lovely shiny surface you get with hot glass, the effect is more like sea glass - which of course is a favourite of mine!
This piece was made from recycled broken pieces of blown glass - I carefully selected mostly clear pieces and just a few pieces with the odd flash of colour, and I'm really pleased with the effect I got. I was worried that the colours might all mix together and give me a lump of brown glass...
This next piece was made by layering purple and then clear casting glass into the mould.
These last pieces were made from smashed up window glass - a different effect entirely.
I also got to have a go at sandblasting - that was great fun and the results much more immediate.
Wednesday, 3 November 2010
Still Life in torn paper
Apologies for being a bit quiet lately... I am working on an essay so whenever I think I might write something I think it should be that! Nearly done now though, I think...
This week at uni we have mainly been tearing pieces of paper into tiny pieces and sticking them to other bits of paper. In the end I have quite enjoyed it in spite of the sore fingers - who knew tearing paper could get so painful? The object of the exercise was to get us to take notice of colour values and I think it has been successful in that.
This week at uni we have mainly been tearing pieces of paper into tiny pieces and sticking them to other bits of paper. In the end I have quite enjoyed it in spite of the sore fingers - who knew tearing paper could get so painful? The object of the exercise was to get us to take notice of colour values and I think it has been successful in that.
 |
| Before... |
 |
| ...and After |
Subscribe to:
Posts (Atom)

